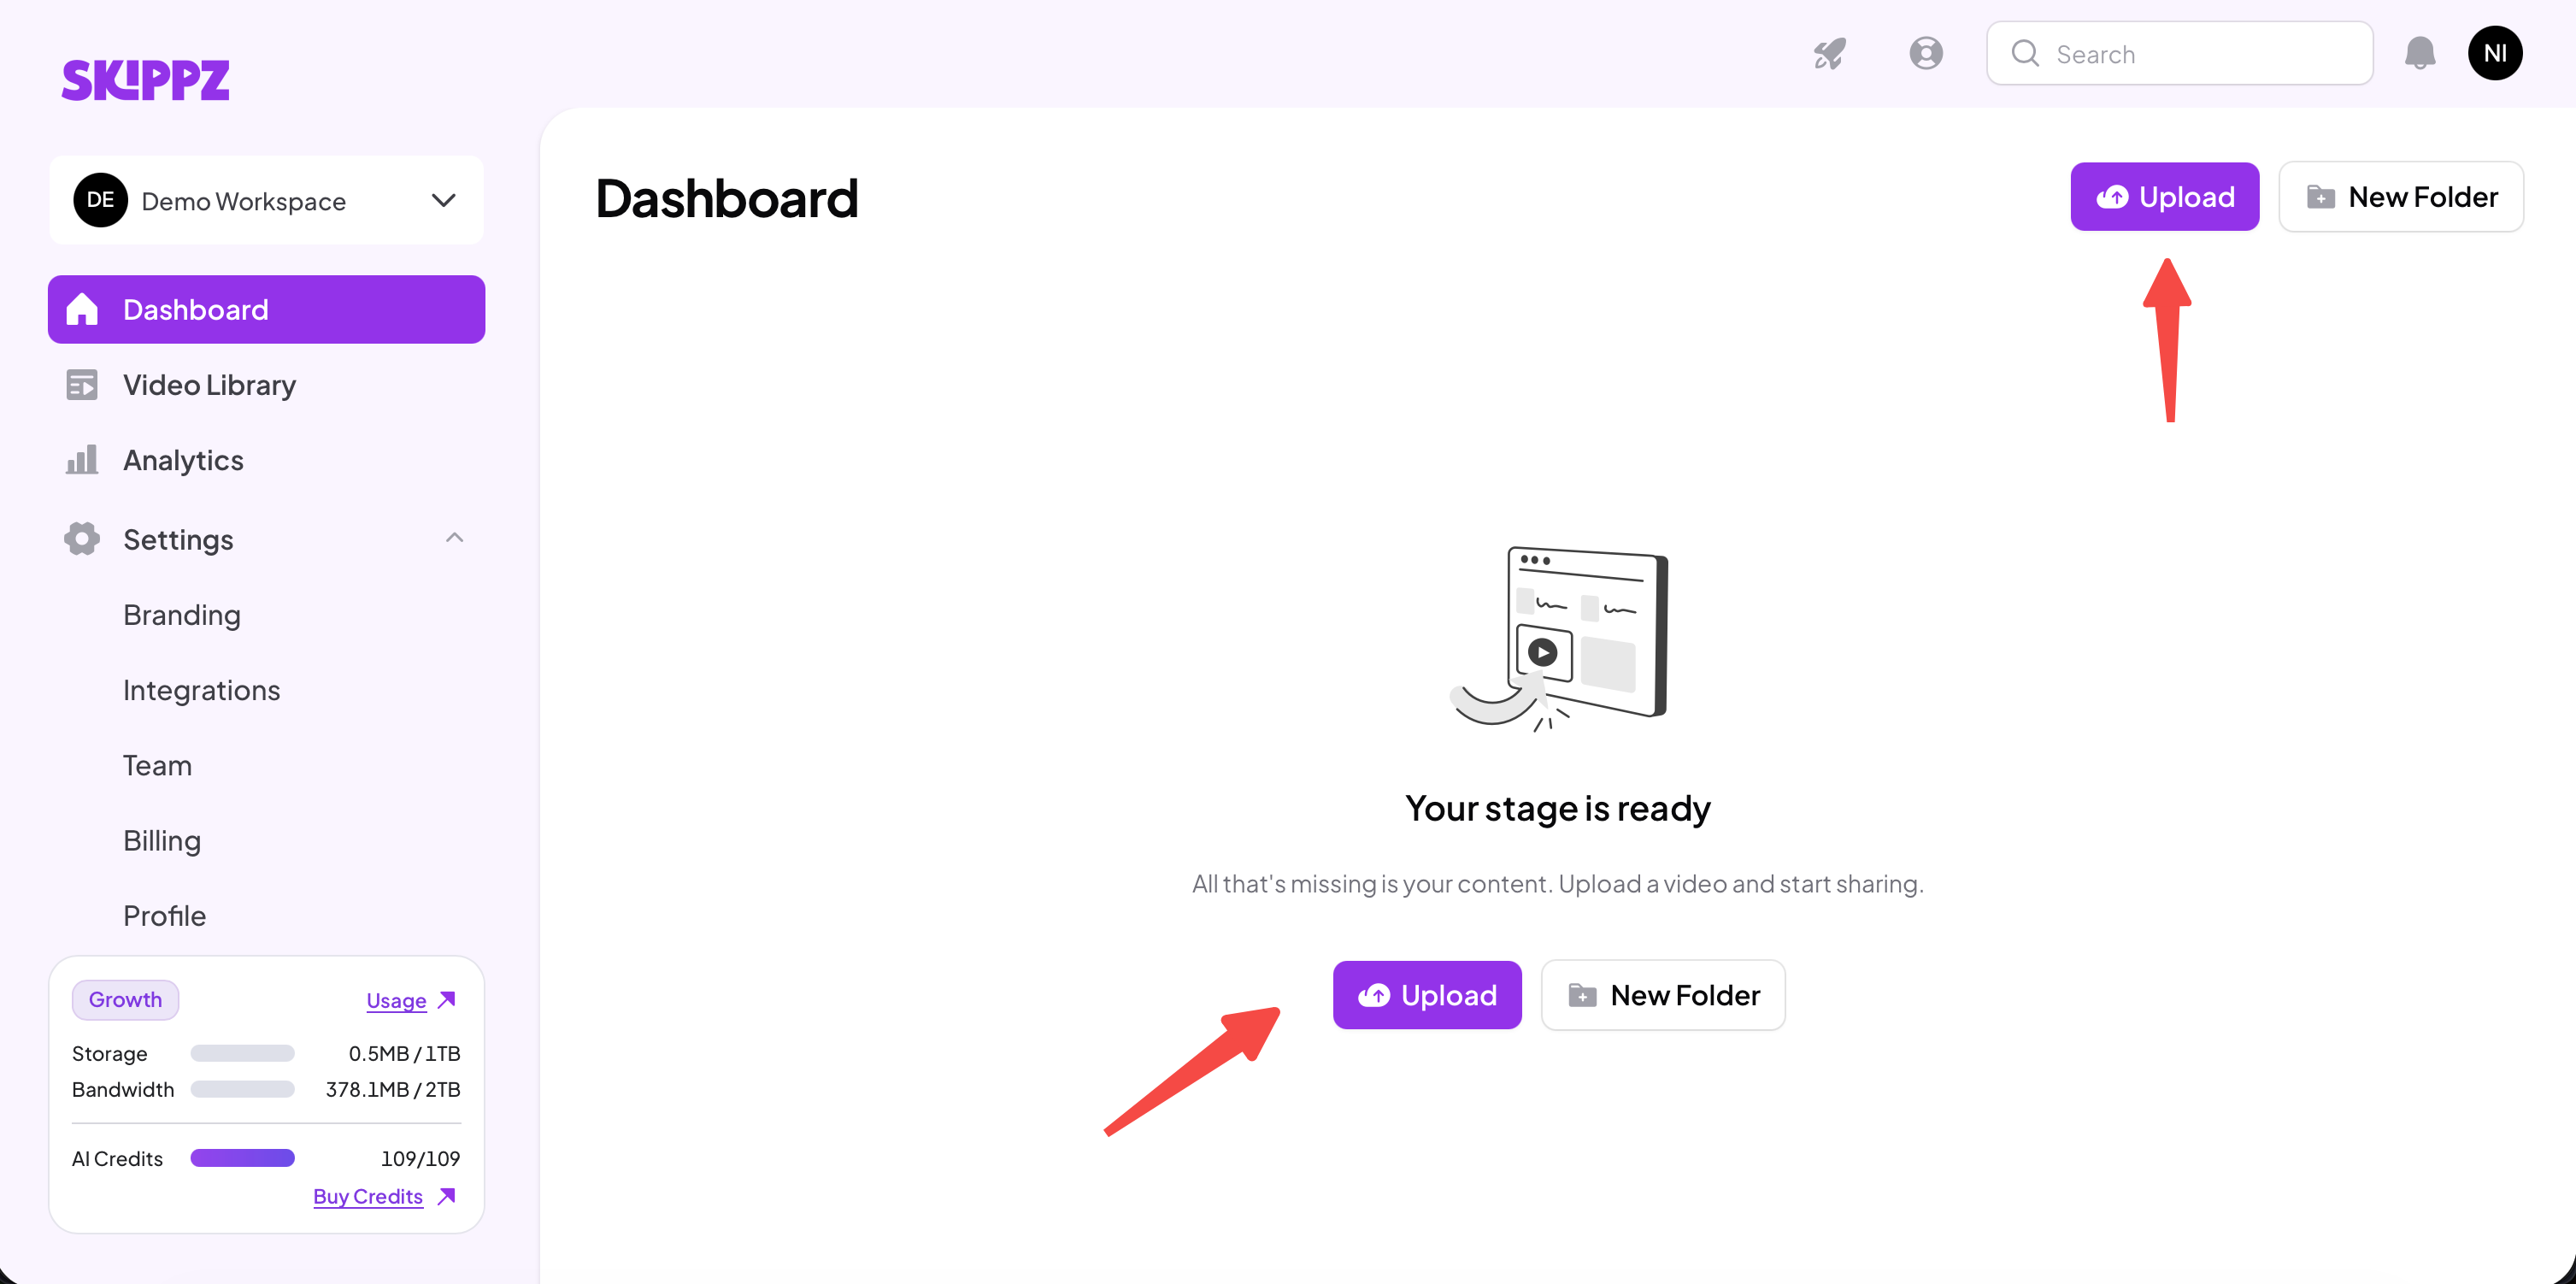
When you log in for the first time, your dashboard is empty and ready, with a message that your stage is ready and all that is missing is your content.
Click Upload to begin. There are two upload buttons, one in the top right and one in the centre of the screen. The centre button only appears while your library is still empty, so use whichever is closest.
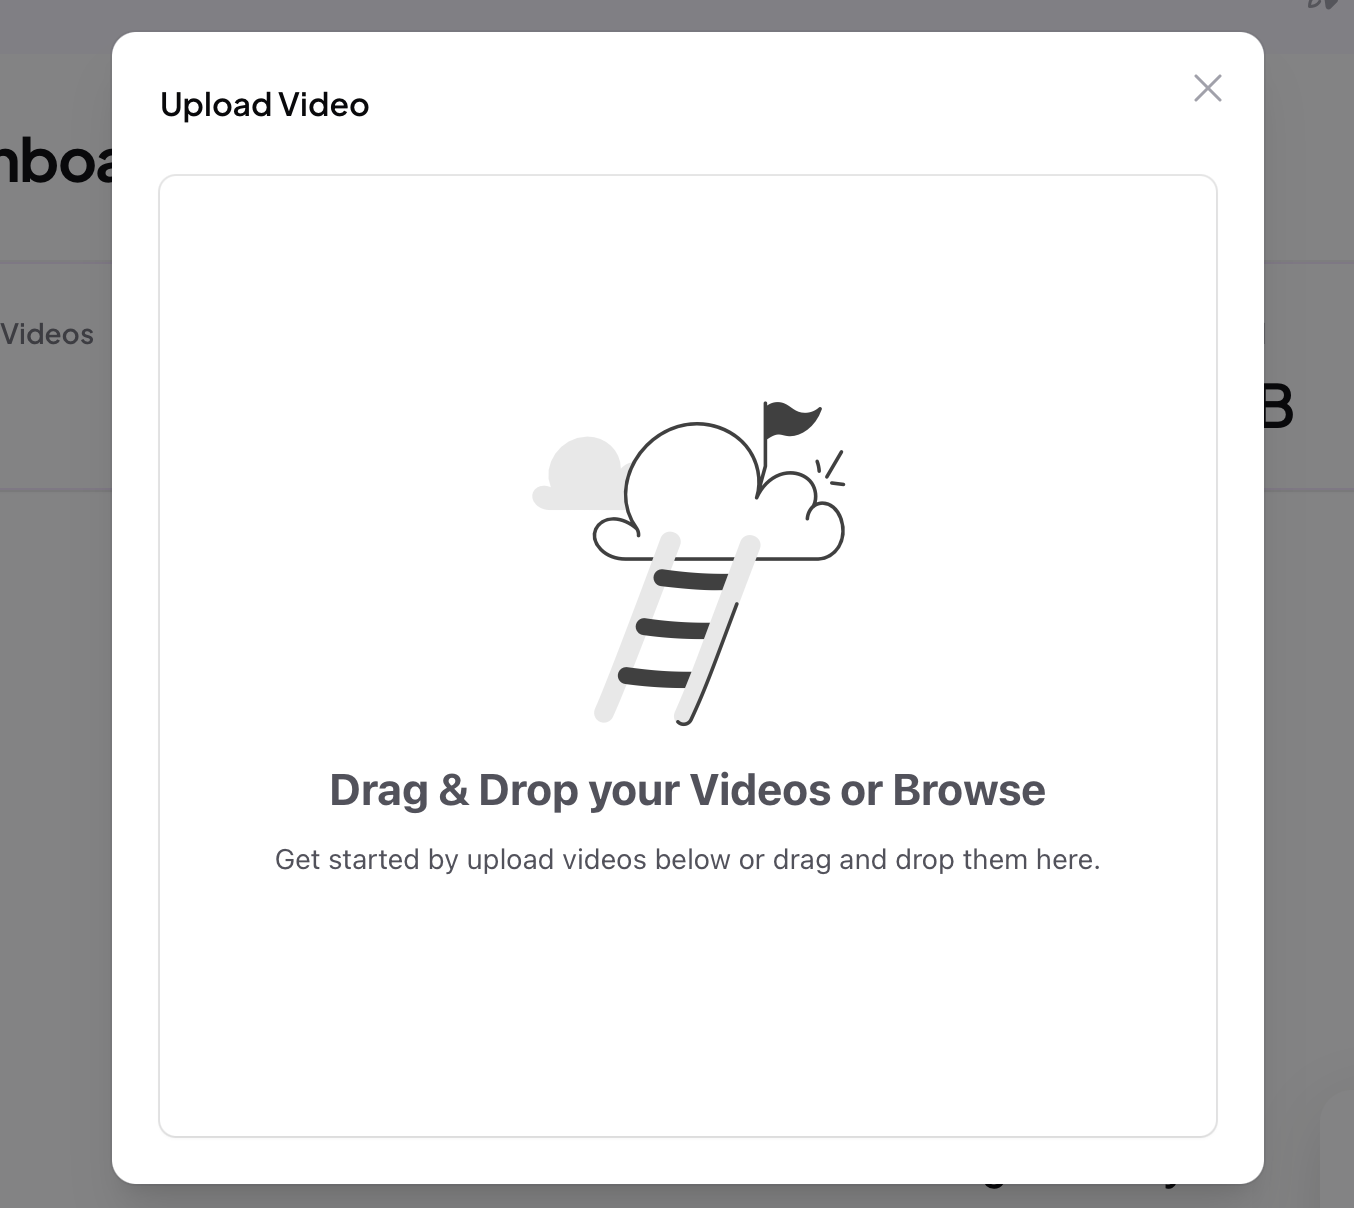
In the Upload Video window, drag your file straight in, or click to browse and pick it from your computer.
You can upload files up to 10 GB each.
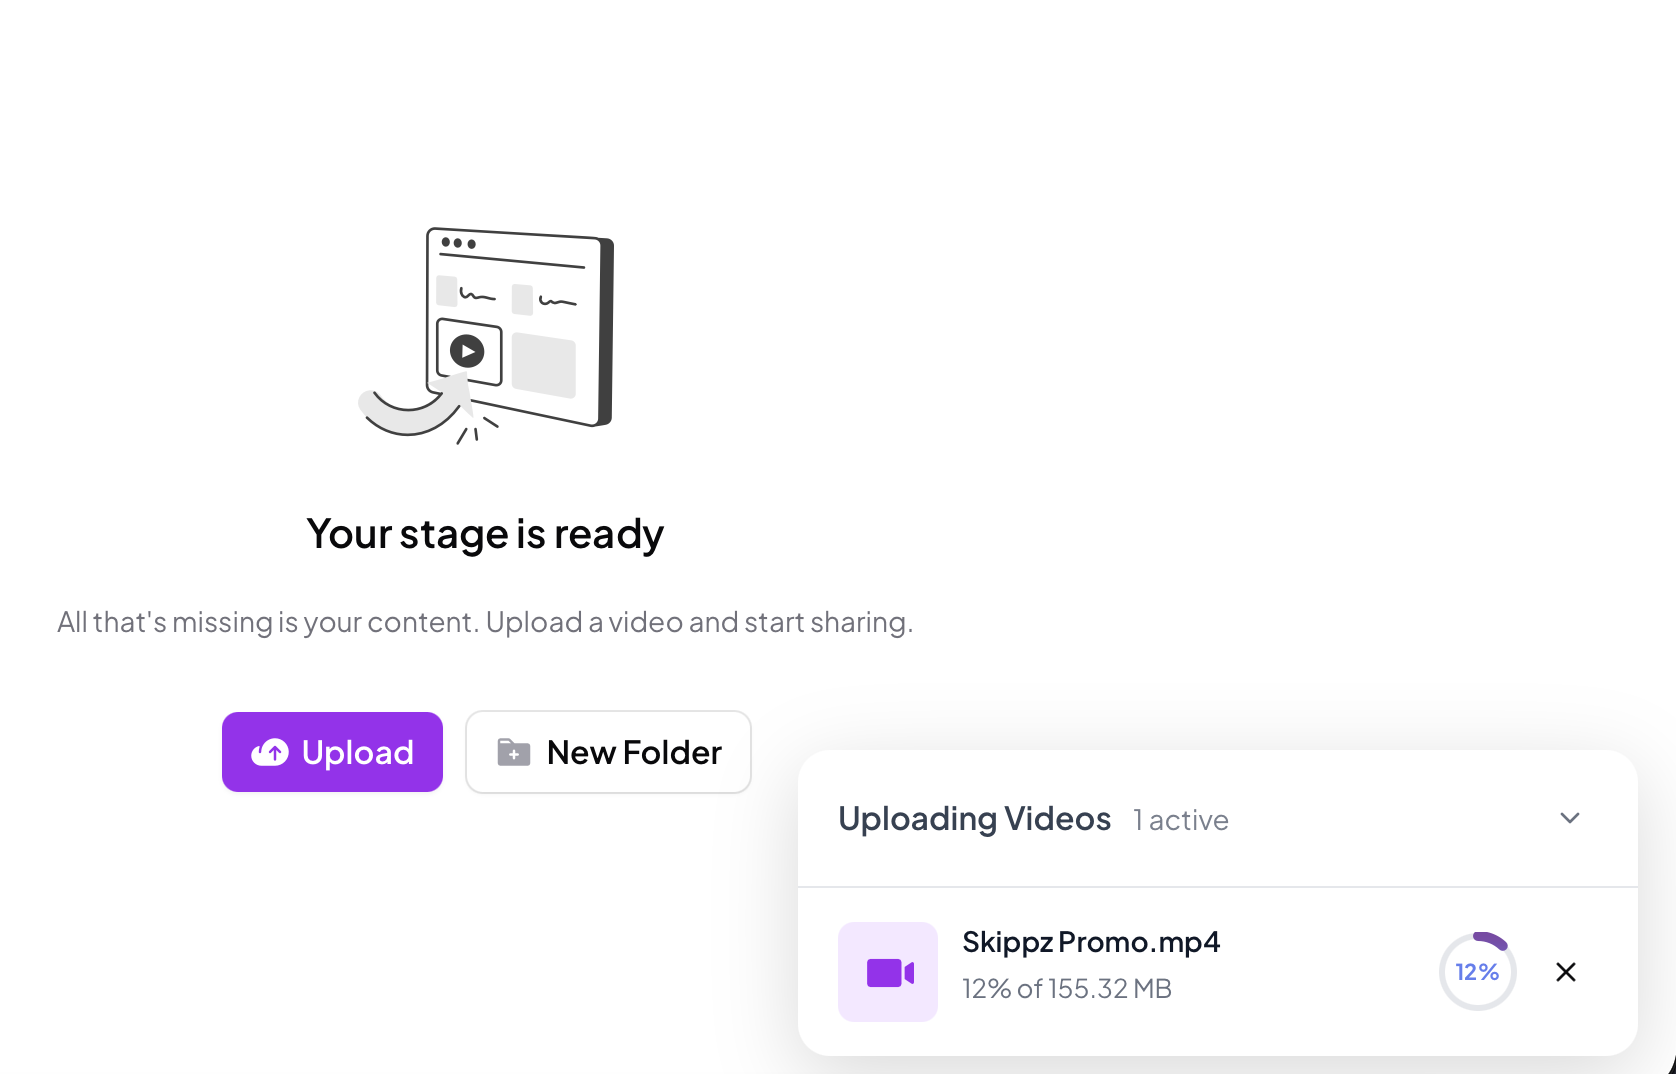
As soon as your file is selected, uploading begins. A small Uploading Videos panel appears in the bottom right corner so it stays out of your way while you carry on working.
While a video is uploading:
You can move around most of the app and keep working on other things. If a page is not safe to leave mid upload, we will warn you first.
You can upload several videos at once. Just add more files and they upload alongside each other.
Do not refresh or close the tab. Refreshing cuts the connection and cancels the upload.
When a file finishes, its status changes to Complete, and you can dismiss the panel whenever you like.
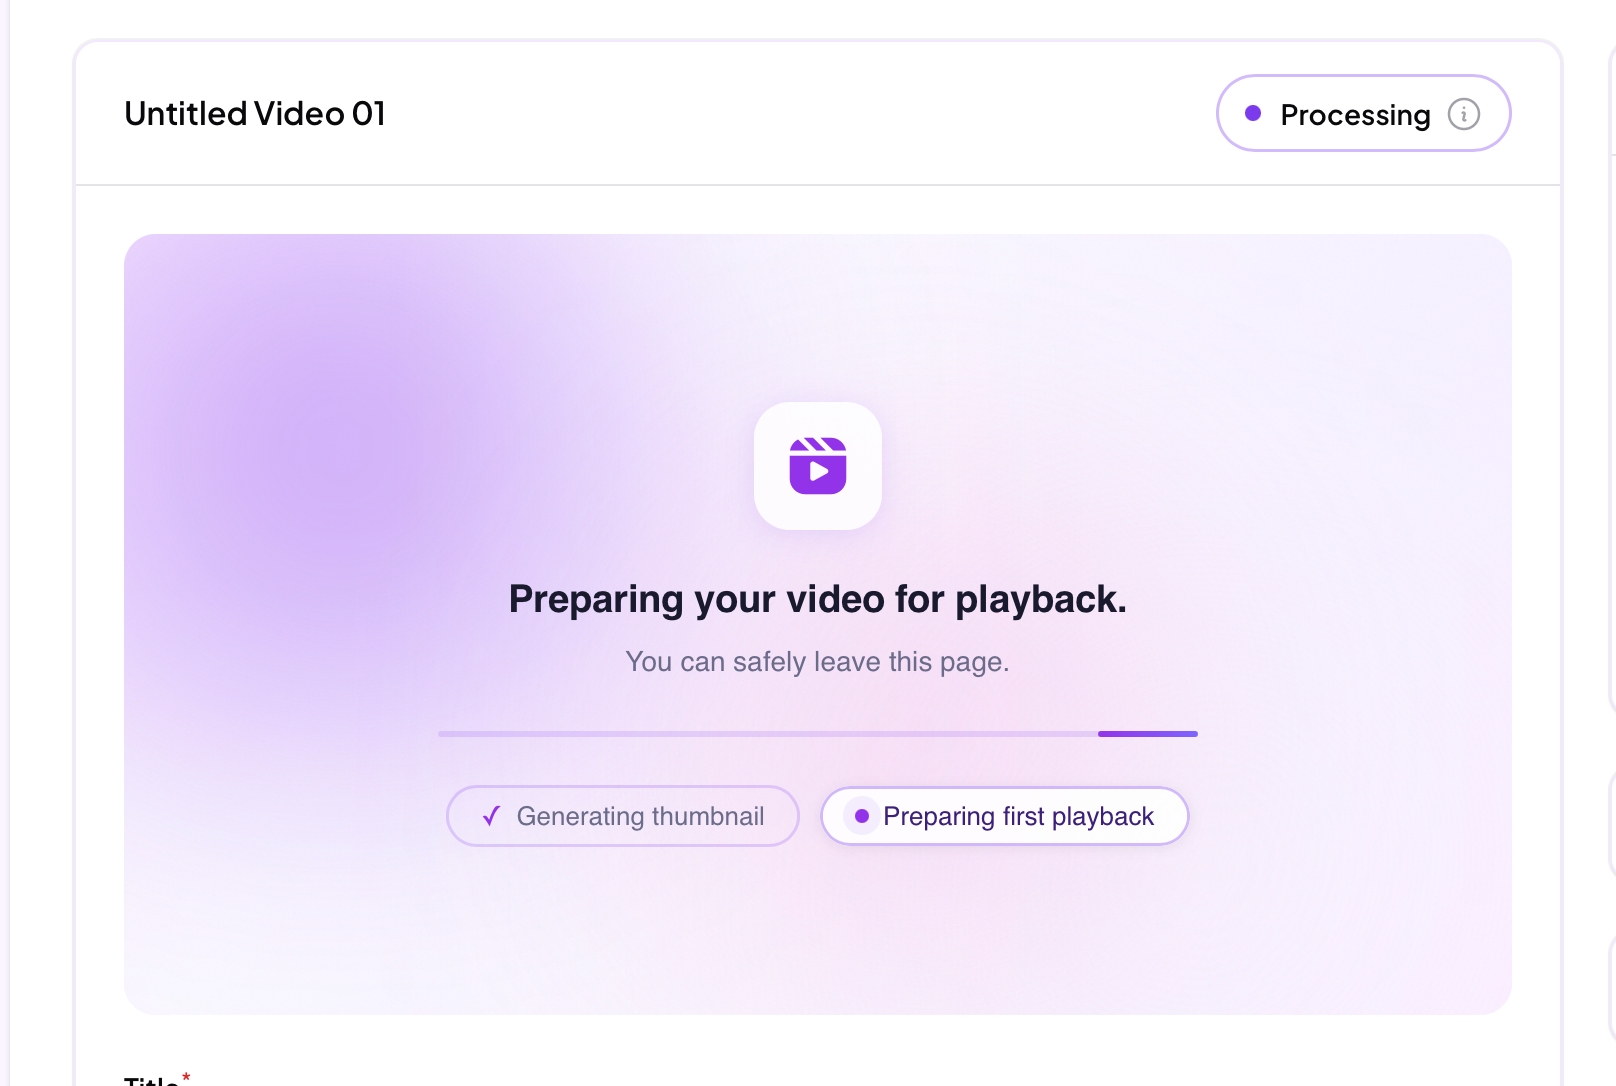
Click into your new video and you may see a "Preparing your video for playback" screen. Behind the scenes, Skippz is getting your video ready and optimising it for the web. You can safely leave this page while it works.
This can take a little while, because we prepare your video in the highest quality possible and build versions for every screen size and connection speed. In many cases your video becomes playable quite quickly, so you can start watching right away while Skippz finishes the remaining quality versions in the background.
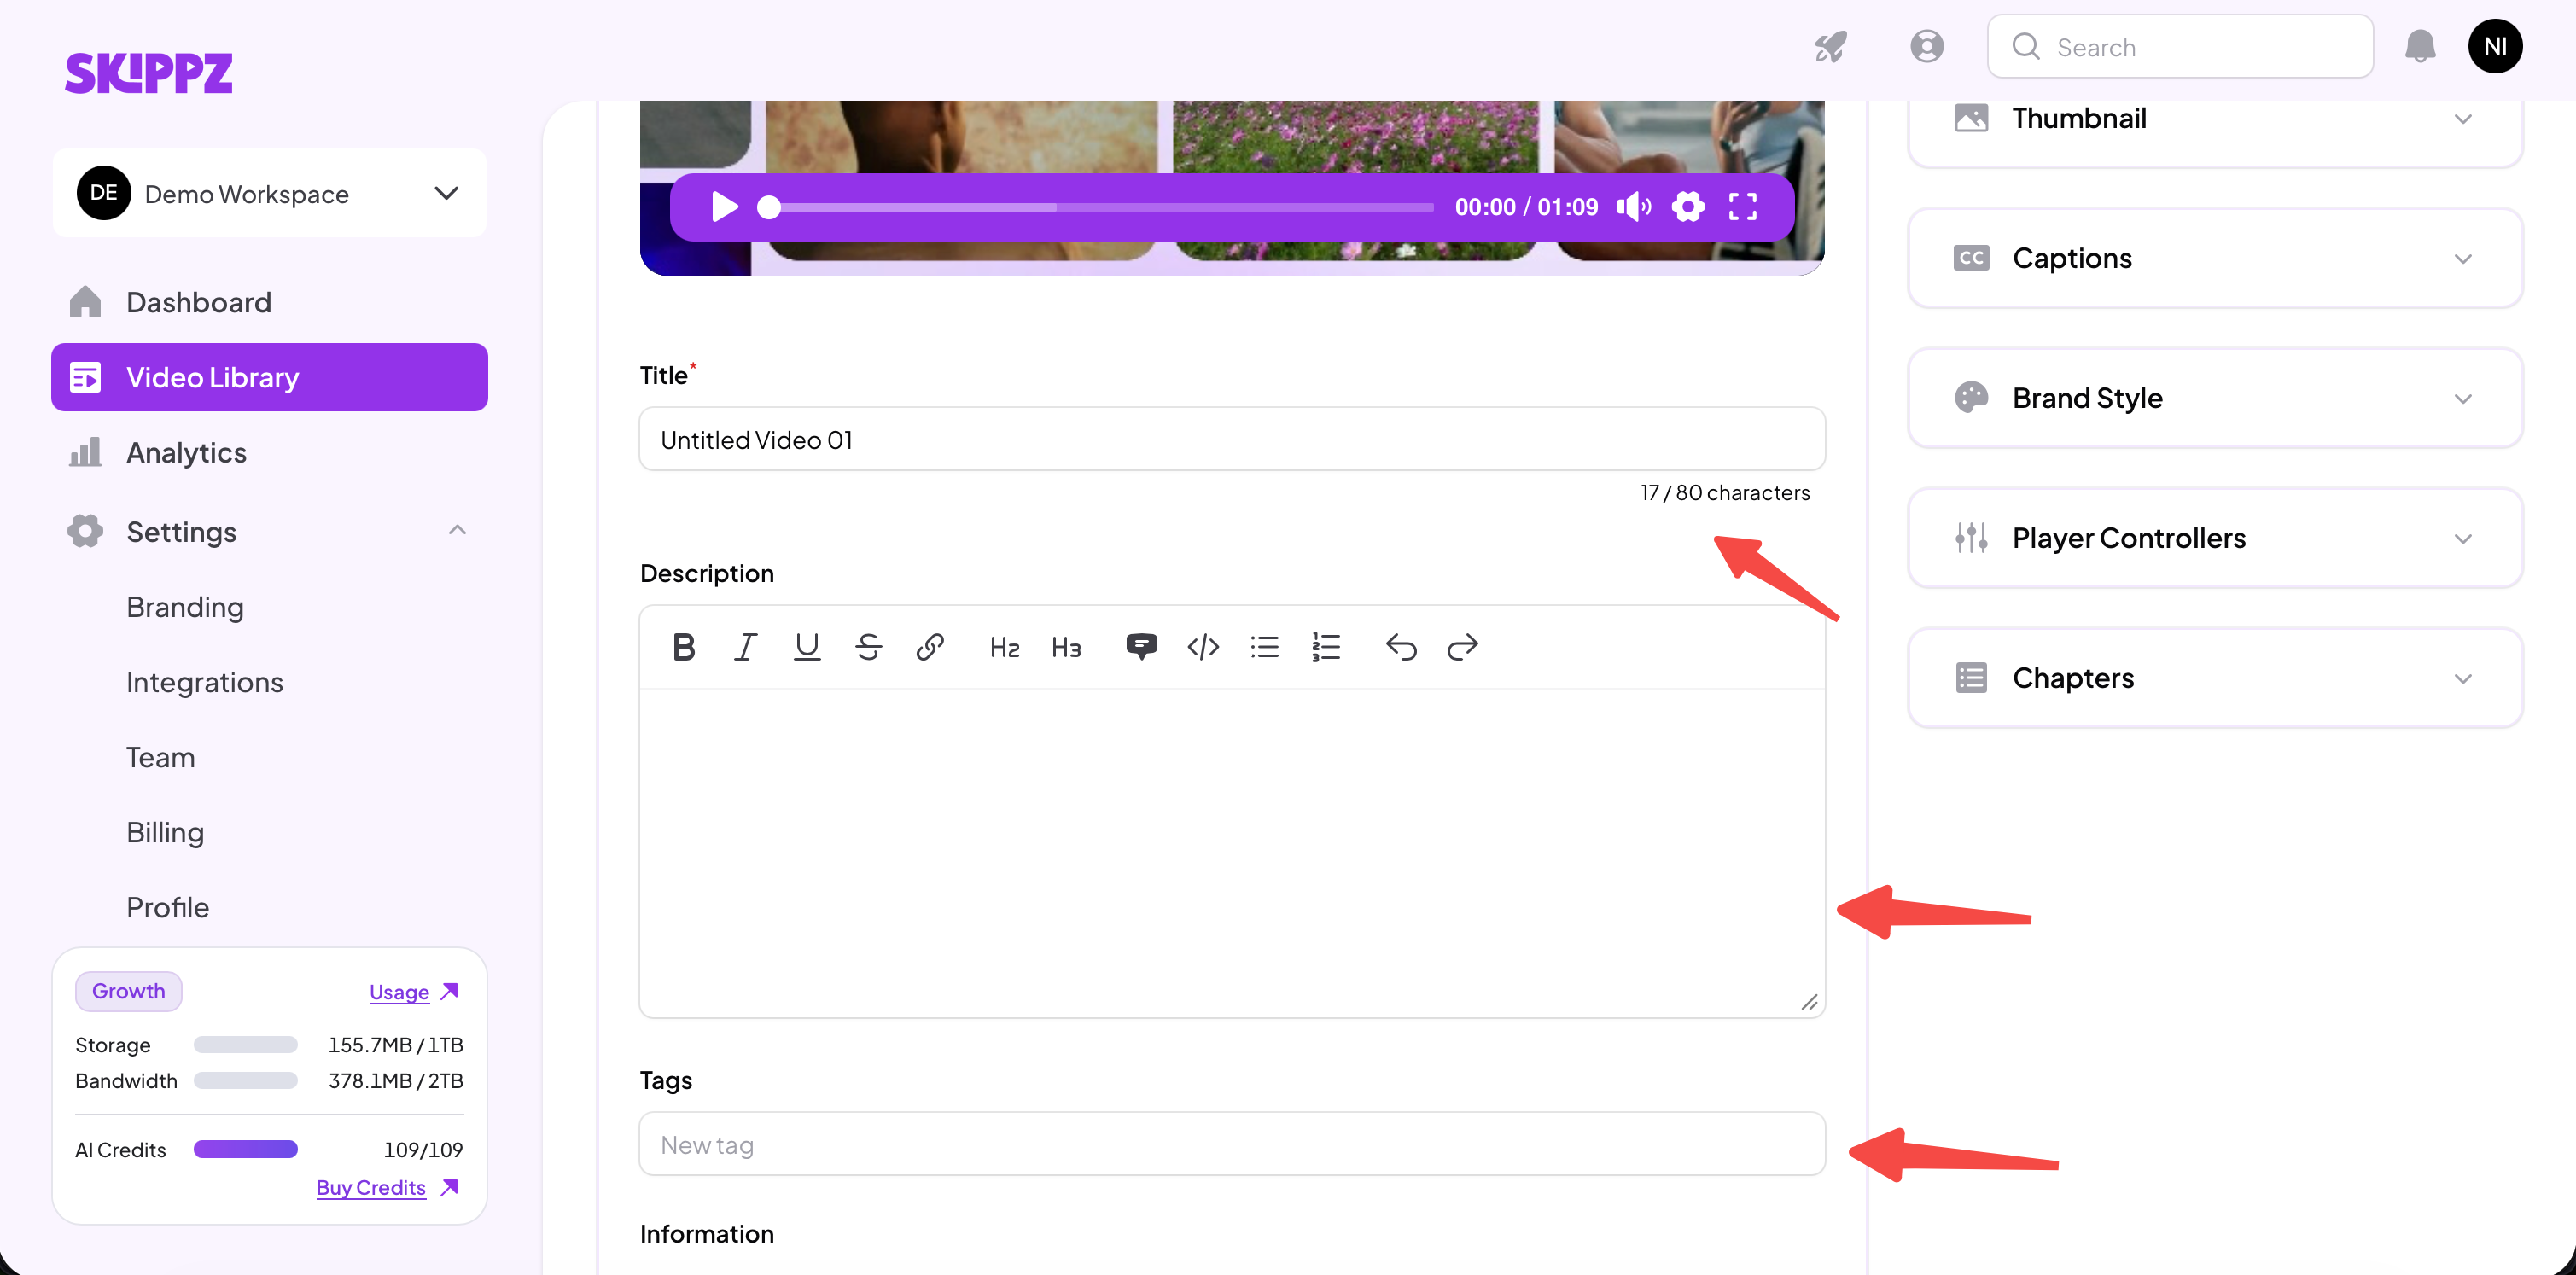
Give your video a clear title, and add a description and tags if you want. Titles, descriptions and tags make your videos easier to find and organise as your library grows.
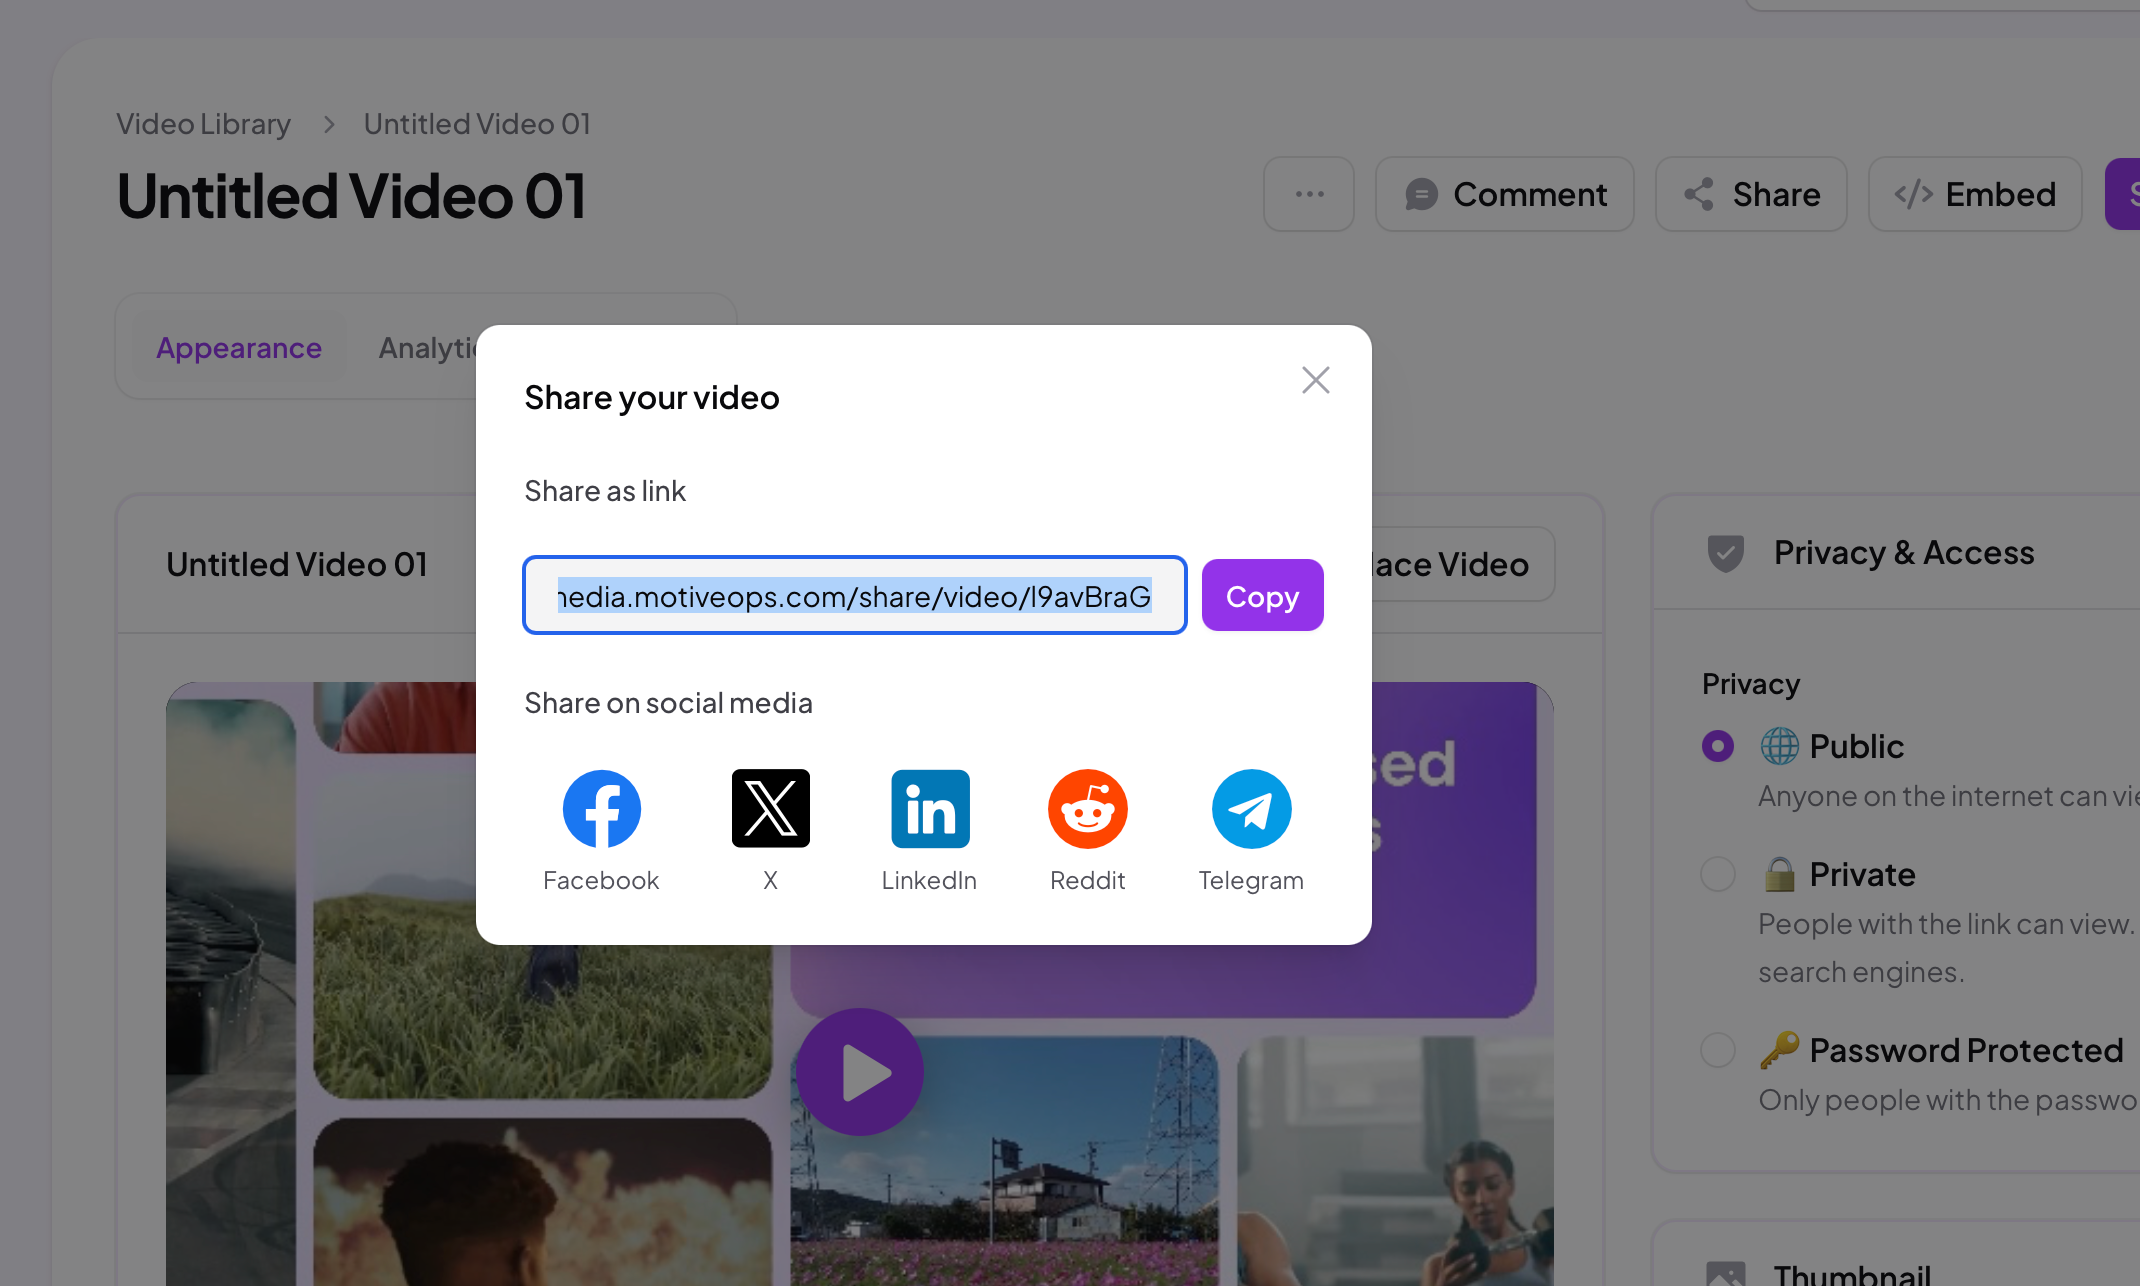
That is it. Your video is ready to share with a link, place on a page, or embed anywhere you want.